How to Upload Custom Fonts in Squarespace

If you are using Squarespace, sometimes you might want to use your own custom fonts. In this blog post, we'll guide you through the process of uploading and using custom fonts in Squarespace.
Step 1: Have your custom fonts ready
The first step is to have the custom font you want to use on your website. You can either purchase a custom font or download a free one from a website like Google Fonts or Font Squirrel.
Step 2: Upload your custom fonts
To upload the custom font in Squarespace, click on the Website menu option in the dashboard.

Now, click on the Website Tools option

In the website tools screen, click on the Custom CSS option.
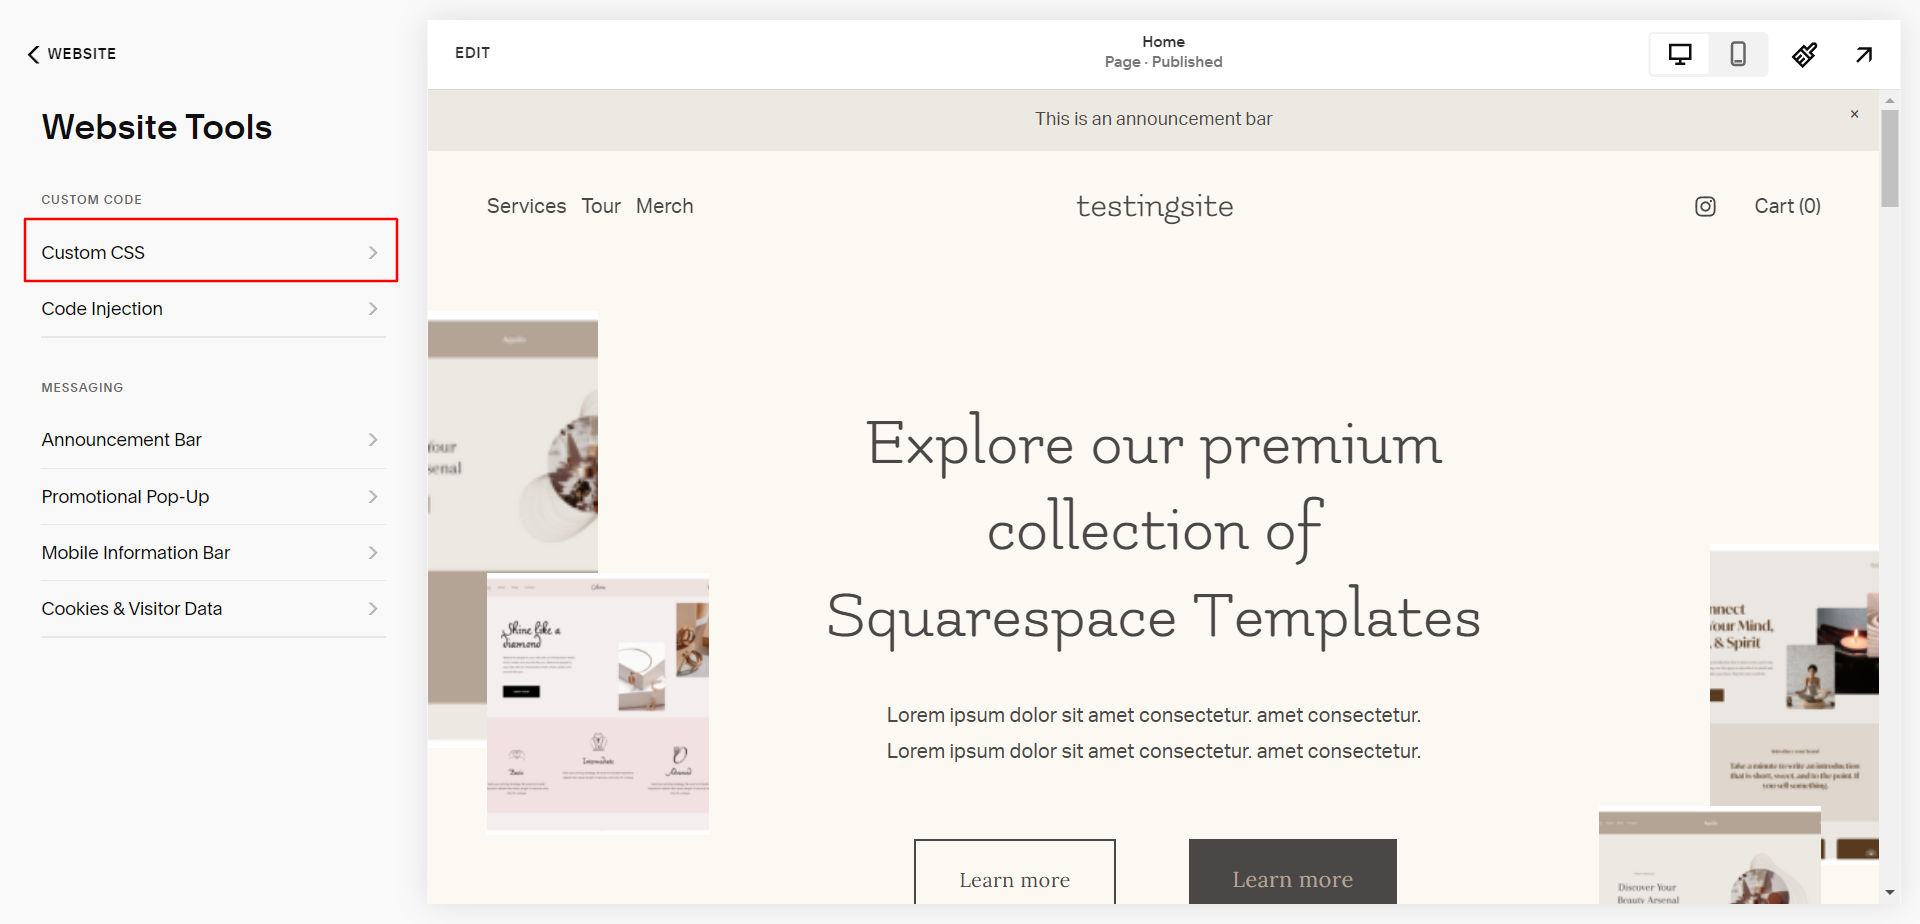
In the custom CSS screen, expand the Custom Files drop-down. Click the + Icon and upload your custom font from your computer’s file manager.

Step 3: Add font CSS
Now that you have uploaded the custom font from your device to your Squarespace site, the next step is to add a CSS code to assign a name to this custom font and to apply this font style to various headings, paragraphs and texts.
Add the following code to the custom CSS editor.
You can change the font-family value to your desired text. In the example below ‘NAME’ has been used to denote the newly added font. You can replace this with anything. But make sure to use the same font-family name when assigning the font as well.
//adding the font

@font-face {
font-family: 'NAME';
src: url('');
}
To insert the URL of the uploaded custom font, place your cursor between the quotes in the URL property, expand the Custom Files drop-down and click on the uploaded font file.

The Squarespace generated URL for that font will automatically get inserted between the quotes.

Step 4: Assign Custom Font
To use the added font, add the following CSS code to the editor.
In the place of “h1”, you can mention the HTML tag of the headings, paragraphs, links or texts for which you want the font style to be applied.
//use the font

h1 {
font-family: 'NAME';
}
In the above example, since the font style was applied to “h1”, the heading1 text is displayed in the newly uploaded custom font style.

click Save to save all the changes.
Uploading and using custom fonts in Squarespace 7.1 is a straightforward process that can add a touch of uniqueness to your website design. By following these simple steps, you can easily upload and apply your own custom fonts to your Squarespace website.